Understanding Vapor Barrier Installation
What is a Vapor Barrier?
A vapor barrier, also known as a moisture barrier, is a material specifically designed to prevent moisture from passing through walls, floors, and ceilings. It’s typically installed in crawl spaces, basements, and other areas where dampness can be an issue. The barrier serves as a protective layer between the interior of a building and the exterior environment, minimizing the chances of water vapor infiltration. This is crucial for maintaining structural integrity, preventing mold growth, and ensuring a healthy living environment.
Importance of Vapor Barrier Installation
The importance of Vapor Barrier Installation cannot be overstated. Moisture in a crawl space can lead to severe problems, including mold and mildew growth, wood rot, and damage to insulation and other building materials. By installing a vapor barrier, homeowners can significantly reduce humidity levels, improving indoor air quality and protecting their investment. Moreover, proper installation enhances energy efficiency by maintaining stable temperatures, reducing the load on heating and cooling systems.
Common Materials Used
Vapor barriers come in various materials, with each offering different levels of protection. Common materials include:
- Polyethylene Sheeting: The most prevalent choice, typically ranging from 6 to 20 mils in thickness, providing robust moisture resistance.
- Foil-Backed Insulation: Offers additional thermal advantages while acting as a vapor barrier.
- Spray Foam: Provides an airtight seal while also insulating, making it a two-in-one solution.
Preparing for Vapor Barrier Installation
Assessing Your Crawl Space
Before moving forward with vapor barrier installation, a thorough assessment of your crawl space is vital. Check for existing signs of moisture, such as water stains, mold, or a musty odor. Additionally, examine the ground conditions to see if drainage issues exist. Clear out debris, and ensure the space is dry and ventilated as much as possible before proceeding. Understanding the current state of your crawl space will inform the most effective installation strategy.
Essential Tools and Equipment
Successfully installing a vapor barrier requires several essential tools and equipment. These include:
- Utility Knife: For cutting the vapor barrier material.
- Measuring Tape: To ensure accurate measurements of the area.
- Pliers and Stapler: For securing the barrier to the walls or supports.
- Heavy-Duty Plastic Sheeting: The vapor barrier itself, typically polyethylene.
- Sealant or Tape: To seal joints and seams for maximum effectiveness.
Safety Precautions to Consider
Safety should be a top priority during installation. Key precautions include:
- Wearing gloves and a mask to protect against mold spores and debris.
- Ensuring proper ventilation in the crawl space to prevent inhaling potentially harmful particles.
- Using a sturdy ladder or step stool if necessary to reach elevated areas securely.
Step-by-Step Process for Vapor Barrier Installation
Preparing the Ground
Preparation of the ground is a critical first step. Start by clearing out any rocks, debris, or vegetation. Ensure the ground is as flat as possible and consider grading it to promote drainage away from the foundation. If necessary, address any existing moisture issues by using a sump pump or drainage system before proceeding.
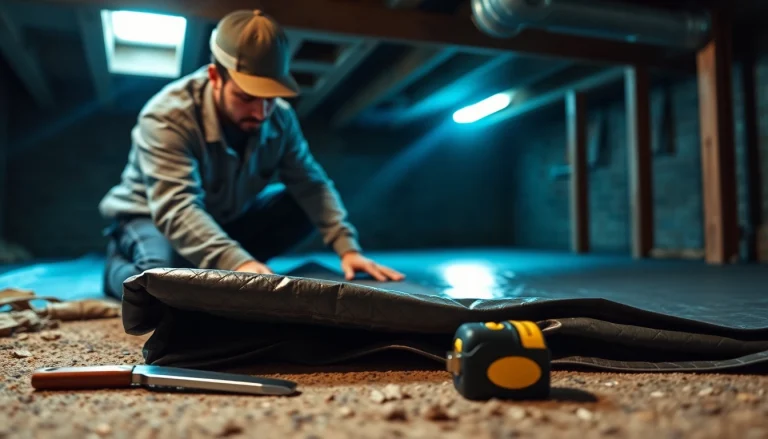
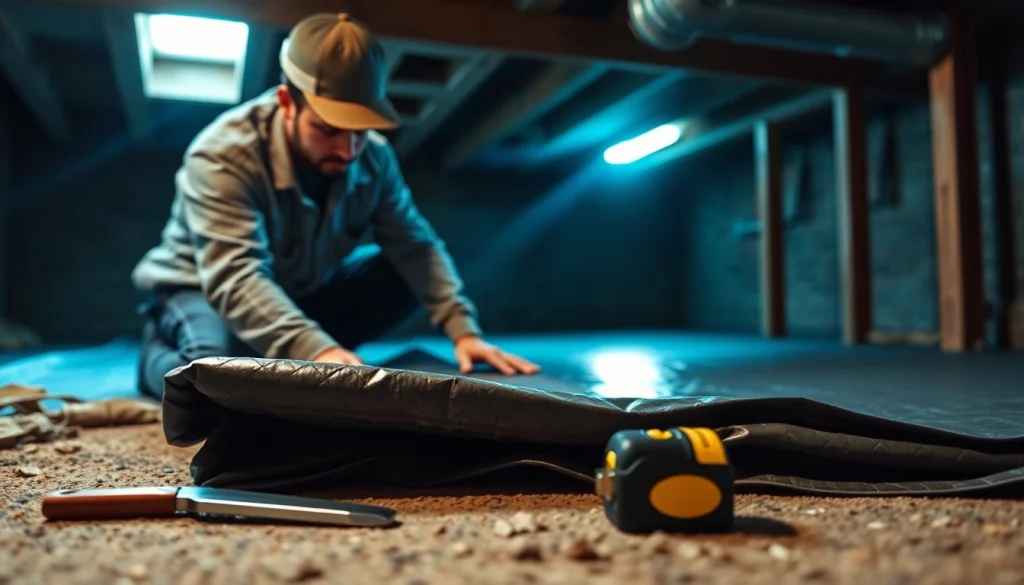
How to Lay Down the Vapor Barrier
Once the ground is prepared, it’s time to lay down the vapor barrier. Follow these steps:
- Roll out the polyethylene sheeting across the entire crawl space floor. Ensure that it covers the entire area without any gaps.
- Make sure the barrier overlaps any seams by at least 12 inches.
- Trim the edges of the barrier to fit snugly against walls, piers, or any obstructions.
Sealing and Joining Techniques
To ensure maximum effectiveness, all seams, joints, and perimeters must be sealed properly. Techniques include:
- Using tape: Heavy-duty polyethylene tape can seal all overlapping areas securely.
- Applying sealant: Liquid sealants can be used at the edges and corners for an airtight seal.
- Fastening to walls: Staple the vapor barrier to the foundation walls at least 6 inches above the ground.
Post-Installation Best Practices
Maintaining Your Vapor Barrier
Post-installation maintenance is crucial to ensure the longevity and effectiveness of the vapor barrier. Regularly inspect the barrier for any tears, rips, or deformations, especially after extreme weather conditions. Keeping the crawl space clean and dry will also extend the lifespan of your vapor barrier.
Signs of Damage to Watch For
Be vigilant for signs that could indicate your vapor barrier is damaged. Look for:
- Mold or mildew growth on the barrier or surrounding areas.
- Increased humidity levels in the crawl space.
- Visible tears or punctures in the barrier material.
Long-term Benefits of Proper Installation
Proper installation of a vapor barrier provides numerous long-term benefits, such as:
- Enhanced indoor air quality by reducing humidity and mold growth.
- Improved energy efficiency, leading to lower heating and cooling costs.
- Extended lifespan of structural elements and insulation.
FAQs on Vapor Barrier Installation
How long does a vapor barrier last?
A properly installed vapor barrier can last over 20 years, depending on material quality and environmental conditions.
Can I install a vapor barrier myself?
Yes, with the right tools and instructions, homeowners can install vapor barriers, though professional help is often recommended.
Why is vapor barrier installation necessary?
Vapor barriers prevent moisture buildup, protecting against mold and structural damage while enhancing air quality.
What materials are best for vapor barriers?
Polyethylene sheeting is the most common, with thicknesses between 6 and 20 mils recommended for durability.
How do I know if my crawl space needs a vapor barrier?
If your crawl space feels damp or musty, or shows signs of mold, installation of a vapor barrier is likely needed.